
Really, what is a blanket but a really large rectangle, right? Because fleece doesn’t fray, you can cut yourself a large swath of fabric and call yourself done. When you see fleece blankets in stores that have a blanket stitch around the edge of the fabric, that is to keep the edges from curling, not fraying, so you don’t have to do that.
https://tenor.com/embed.jsThis is our second article for DIY fleece projects. Continue reading to learn how to make your own DIY fleece blanket. If you would also like to make a fleece scarf, check out our previous article.
What You’ll Need
https://tenor.com/embed.jsThe largest blanket you can make out of one piece of fabric is a throw blanket with a standard size of 52 inches by 60 inches. This means you can’t use scraps for this project; you probably will need to buy the fabric as most people don’t have that much spare fabric just lying around. Once you’ve got it, cut your shape and call it done… OR join us for the next project!
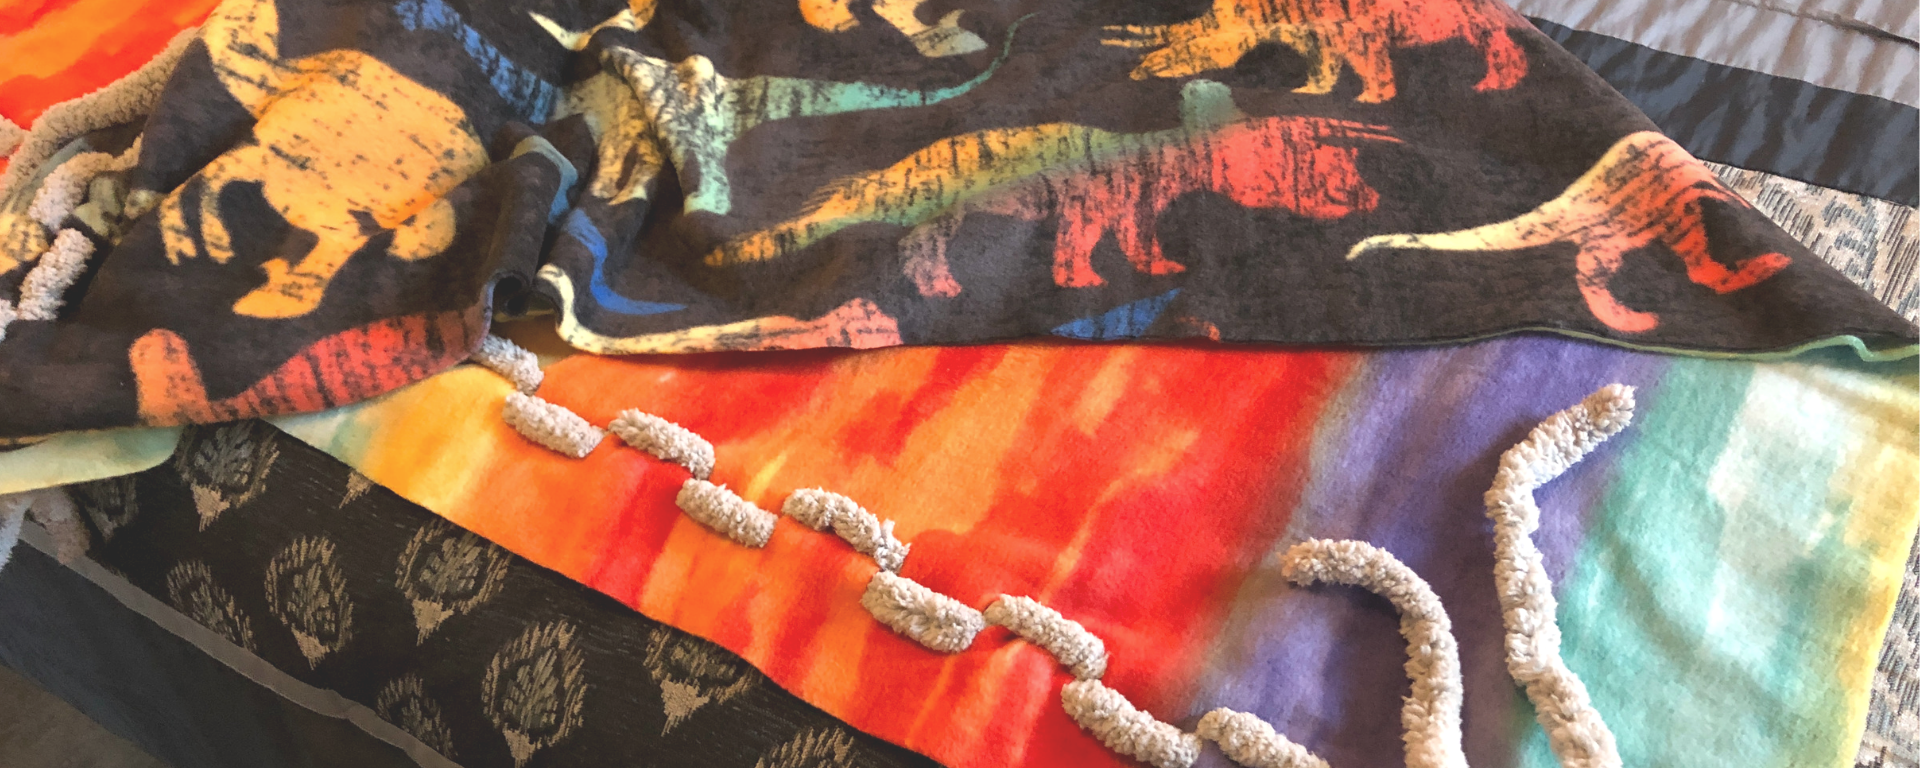
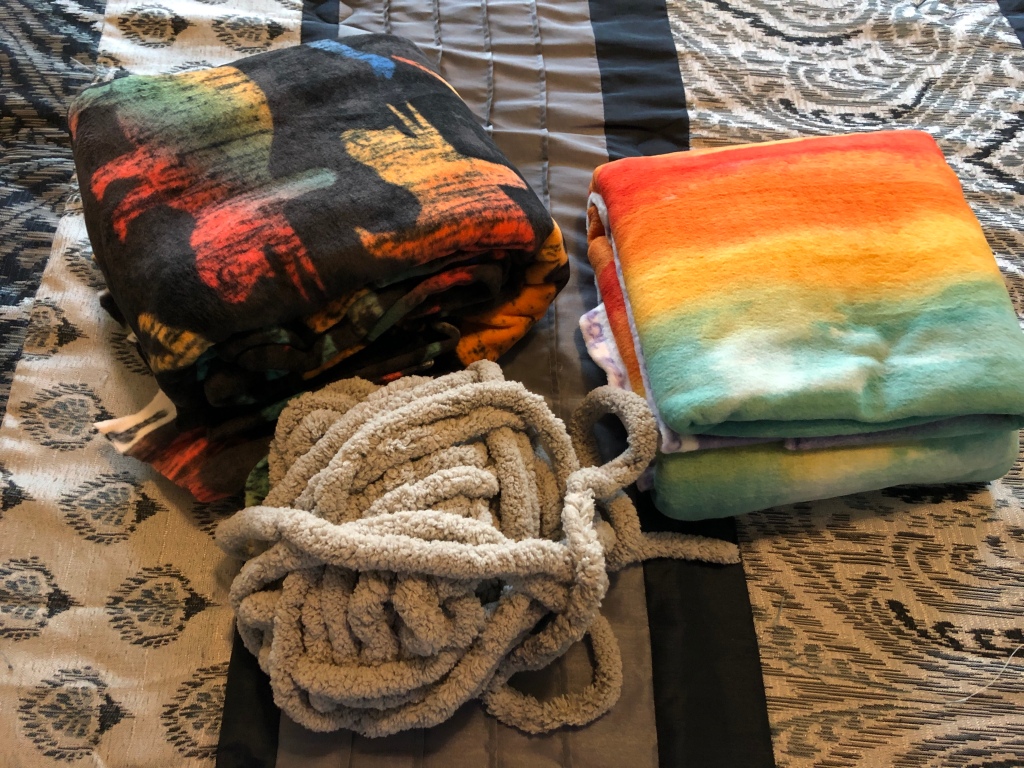
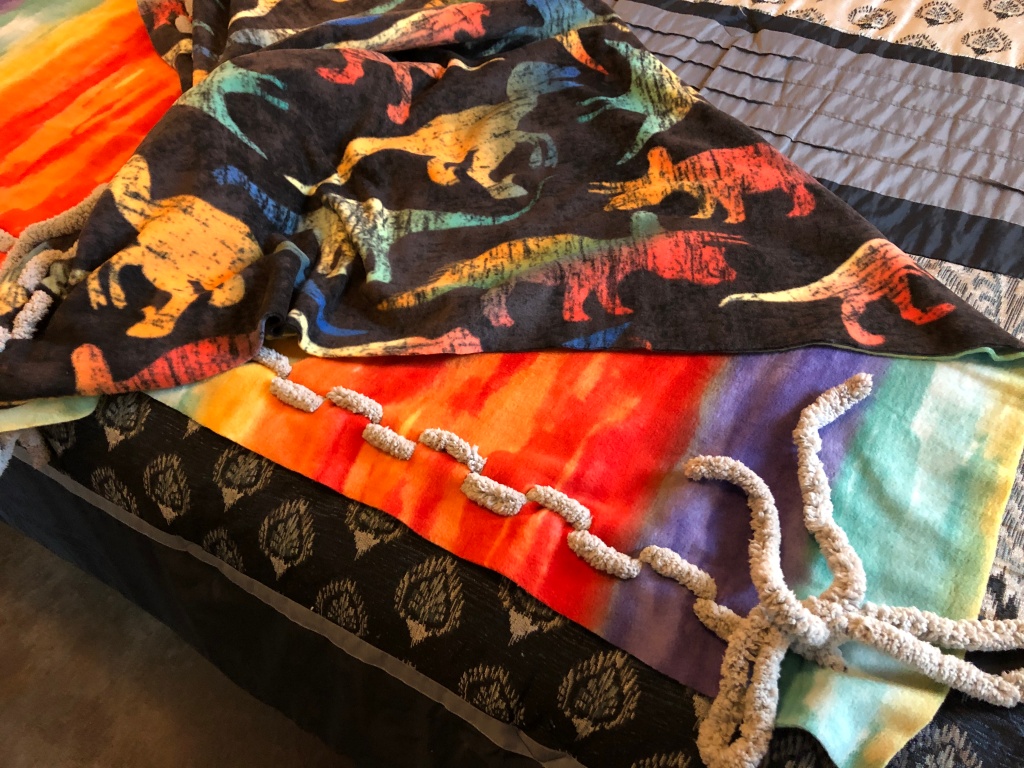
For those of you who want a blanket that does a little more, we’re going to walk you through how to make a convertible blanket. This is a two-sided blanket, so we recommend buying two pieces each of 2-yard fabric pieces. Since it’s a reversible blanket, you’ll want to make sure the designs coordinate. Of course, it would also be fun to have arch rivals on each side, like Jedi vs. Storm Trooper, Hufflepuff vs. Slytherin, or Superhero vs. Supervillain. Then you can display the side you’re feeling that day, HA!
You’ll also want a ball of yarn for weaving the blankets together. Because this is a blanket, I like bulky, soft yarn like this chunky chenille, but you do you. Ribbon and rope can also be used, they just aren’t as cuddly.
Make Your Fleece Blanket!
Step 1
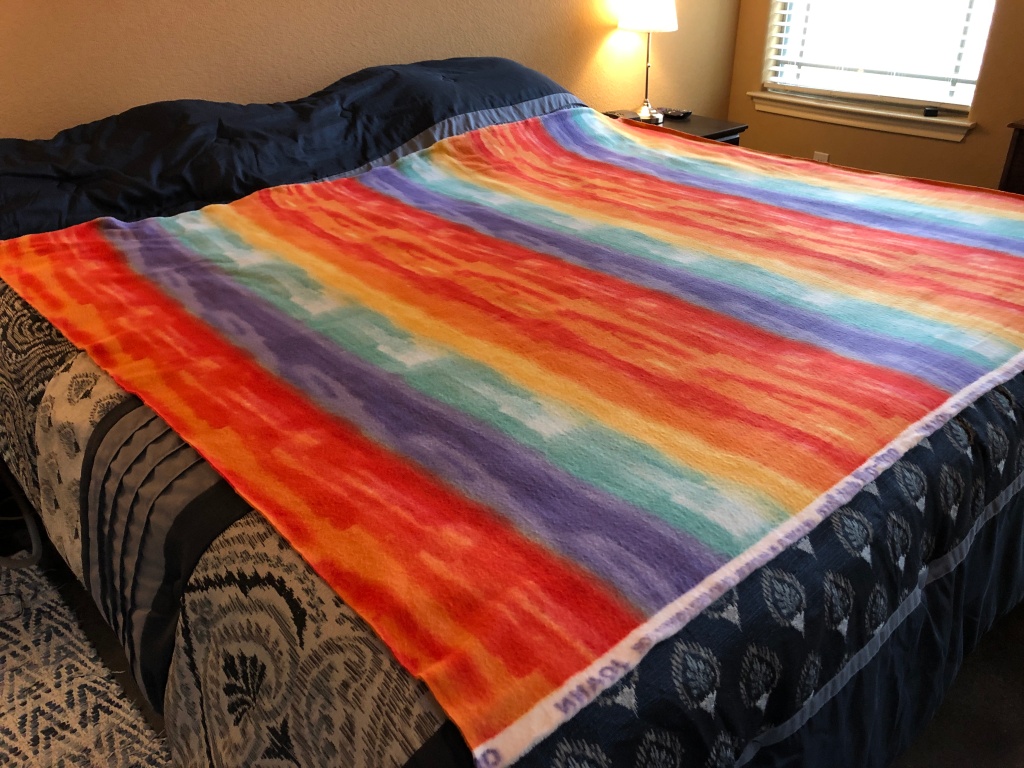
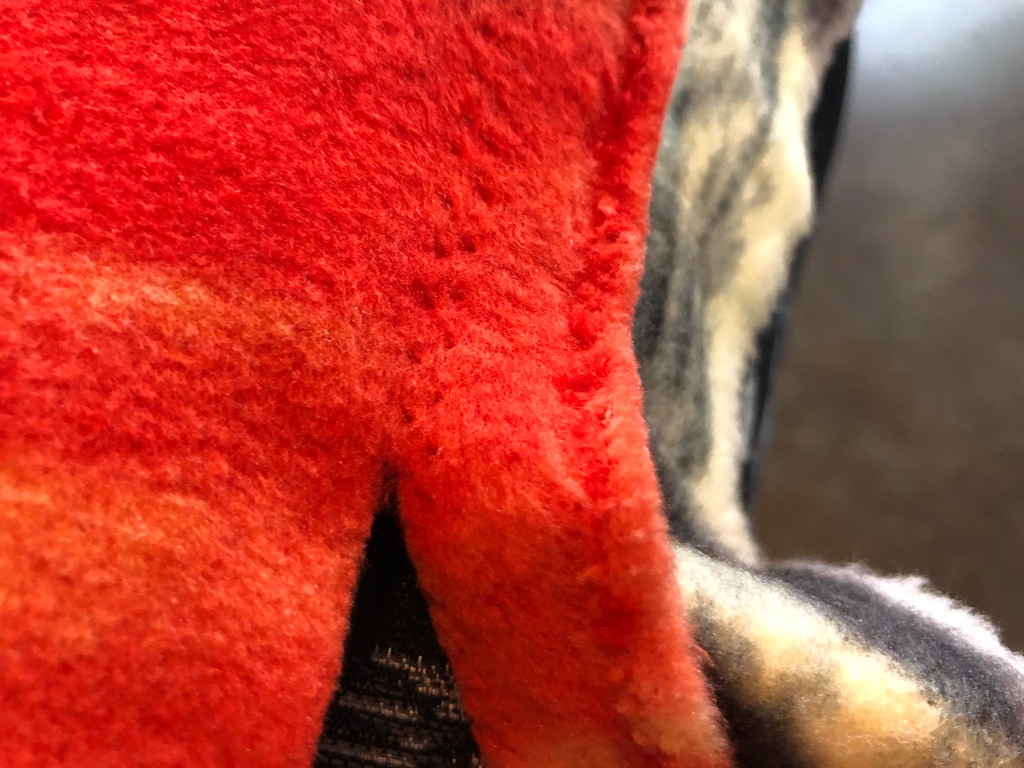
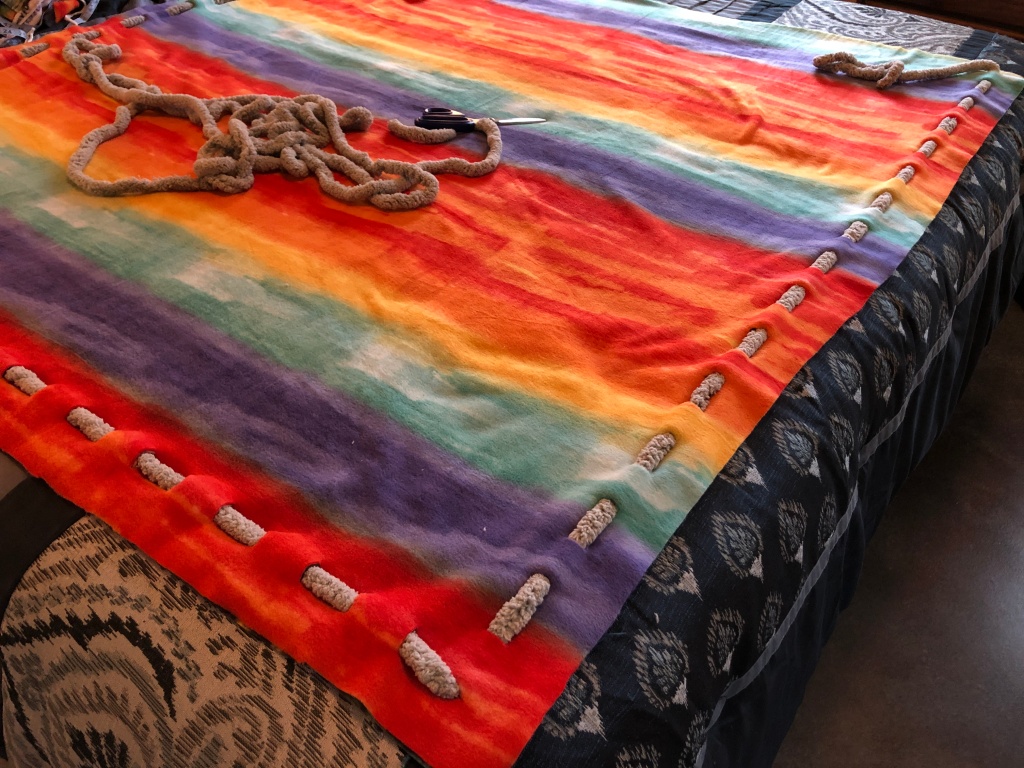
First, lay your fabric on a large surface so you can make sure it’s completely straight and will allow you to cut the fabric cleanly. I used my bed in this picture, but I also have also pushed furniture to the side and laid them on the floor. A hard surface is best, but work with what you got.
Step 2
If you haven’t yet done so, lay your second piece of fabric down on top of the first piece and line them up on two sides. Don’t worry if one piece is larger than the other. We’ll be trimming that off in the next step.
Step 3
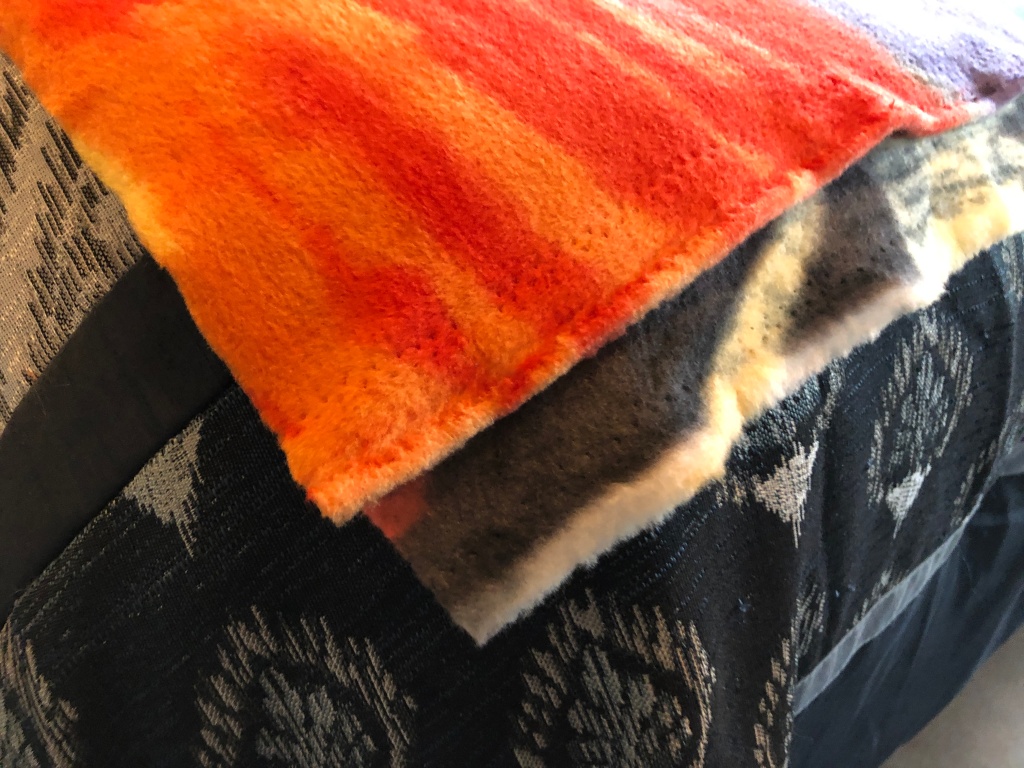
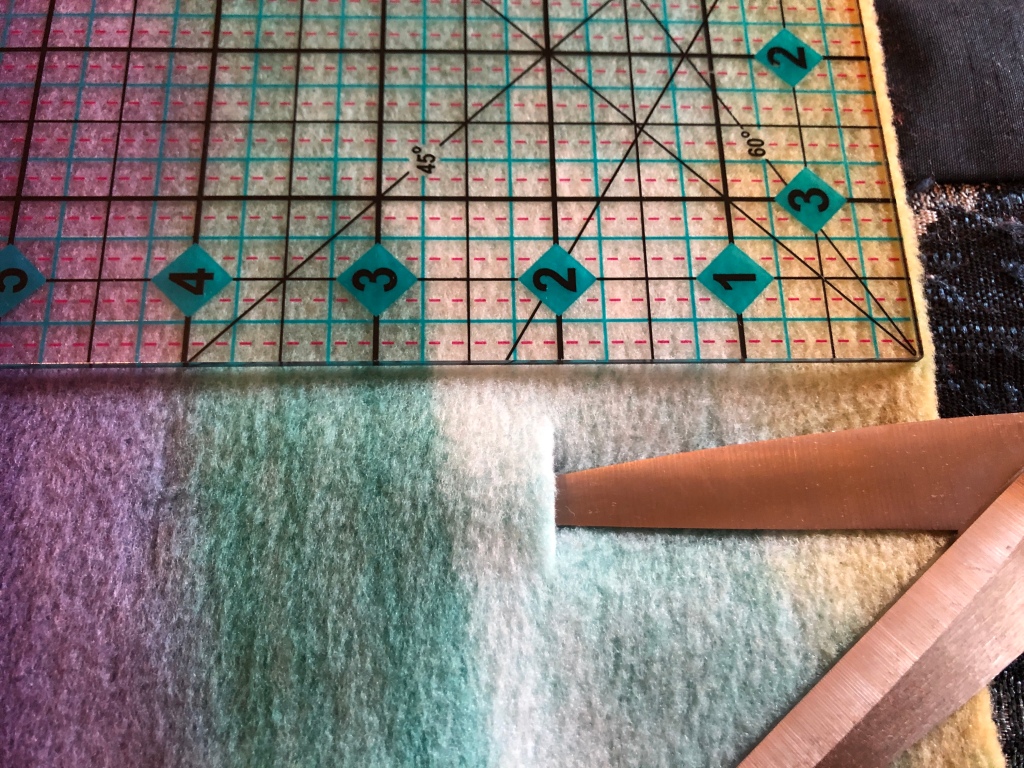
You are now going to trim the selvages, which are the rough edges where the machine held the fabric when it was made in the factory. There are little dots where the pins pricked the fabric, and they make a straight line down the side. I usually cut along that line. There are two selvages on opposite sides of the fabric, so make sure you cut both all the way down each side. NOTE: This is where the extra fabric will get trimmed off for those pieces that are different sizes.
Step 4
Take your scissors and cut small slits one inch away from the edge and about two inches apart along three sides of the blanket. (If your blanket design has a specific direction to it, leave the top side where your head would be as the side where you don’t cut slits.) This will be where you’ll weave that yarn.
Step 5
To measure out how much yarn you’ll need, line all three sides with yarn and leave a little extra at the end for tieing it off. Now double it and cut it in half as you’ll be weaving _two_ strings of yarn through all the holes. You should now have two strands of yarn that are slightly longer than three sides of your blanket.
Step 6
At one end begin weaving your first strand of yarn in and out of the holes.
Step 7
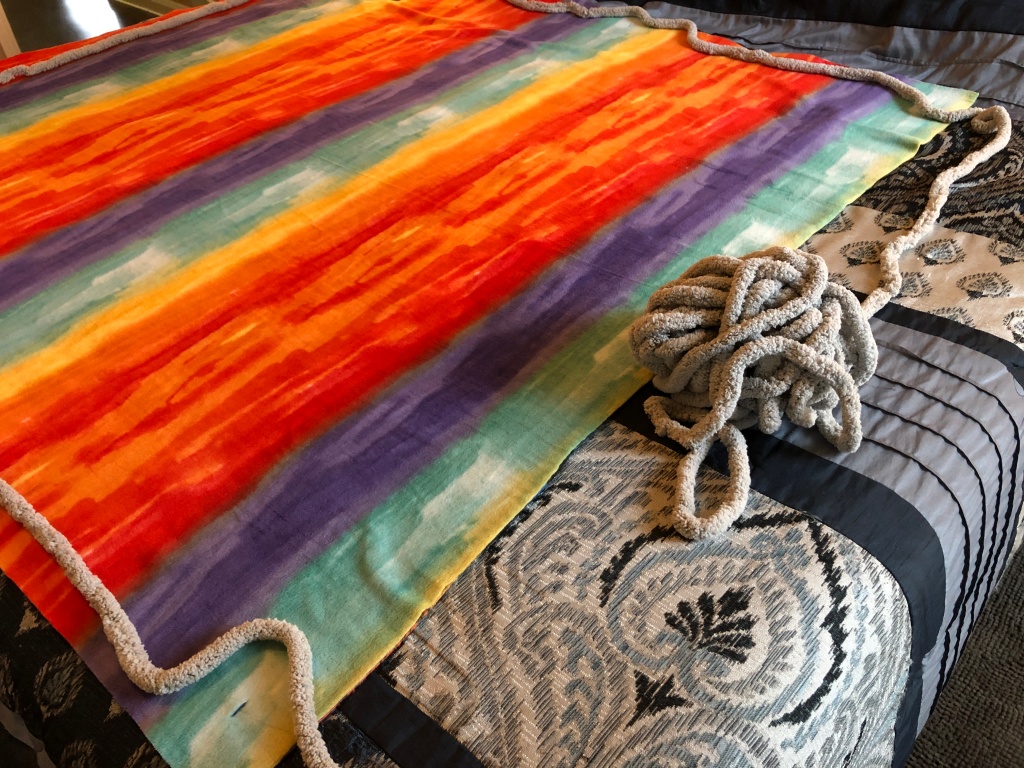
You’ll know you’ve got it right when it looks like a dotted line down the edges of your fabric. Keep going until all three sides are done.
Step 8
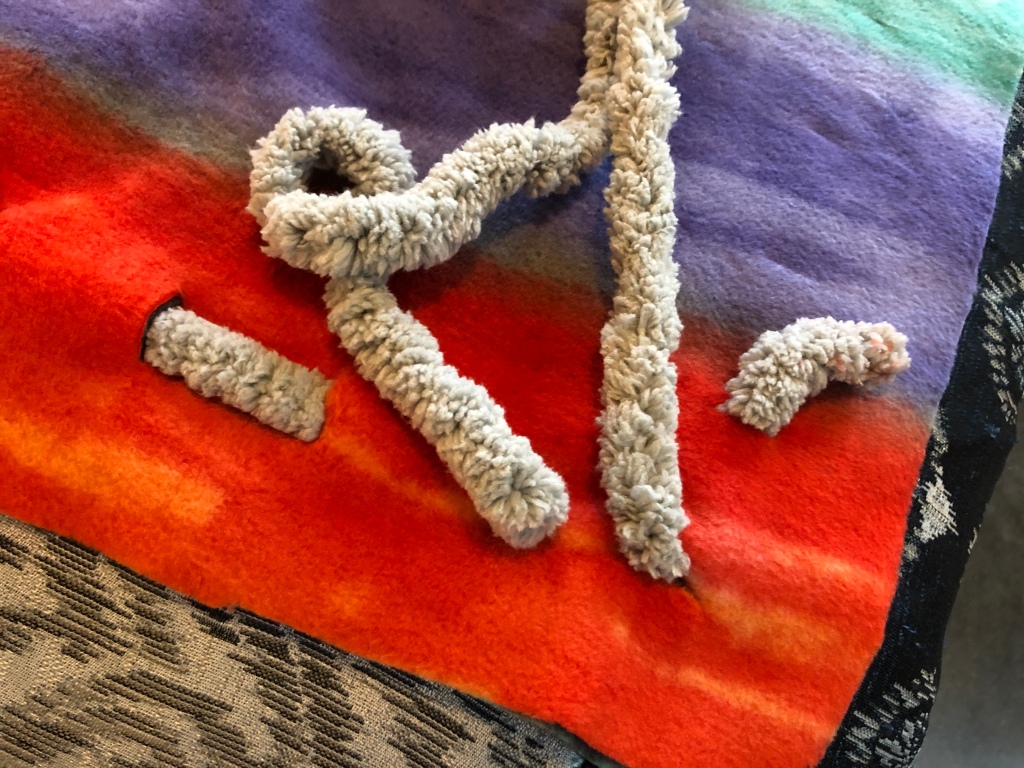
Take the second strand of yarn and weave it in and out of the holes as well, but do it in the opposite direction as the first strand. In other words, where the first strand goes from the top to the bottom, your second strand will go from the bottom to the top. It should look like a staggered line when you’re done with all three sides.
Step 9
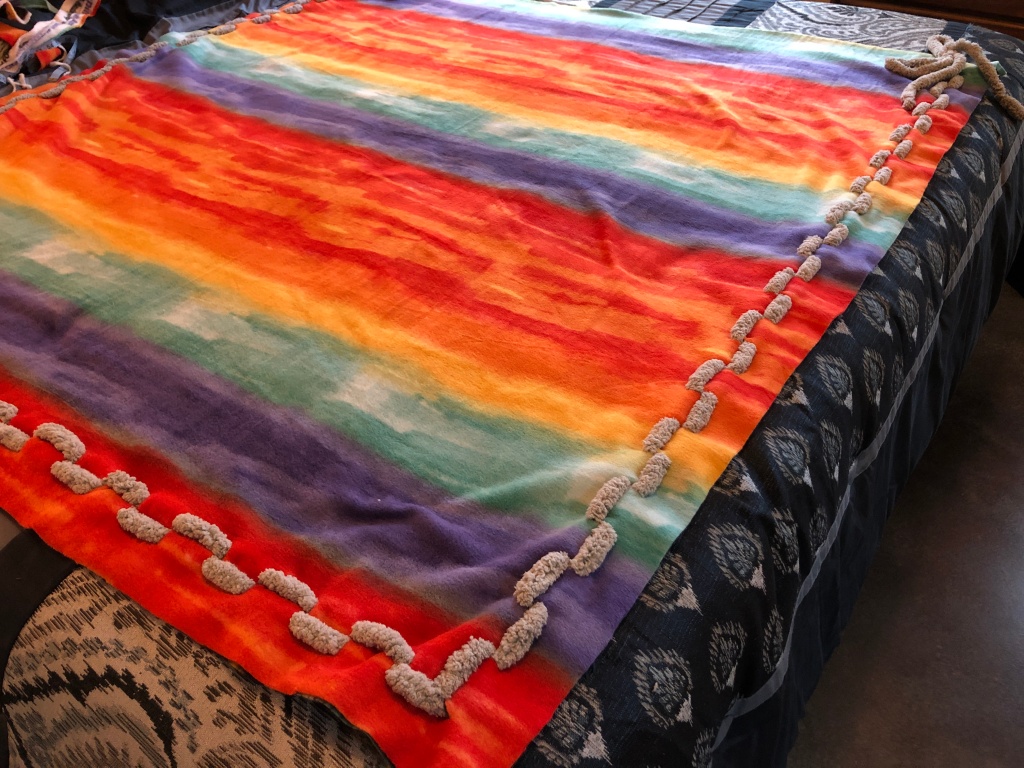
Tie off the yarn at the two ends and you’re done!
Step 10
So, why is this a convertible blanket instead of just a reversible blanket? That has to do with our weaving yarn through the sides, which can be removed, instead of permanently sewing the sides together. Consider this:
- If you leave all three sides woven together, you can use it as a single blanket OR as a sleeping bag! That’s right: the fourth side we left unwoven is where you can slide yourself right in. This sleeping bag is great for guests or when you’re traveling and you want something more breathable and lighter than typical sleeping bags.
- If you un-weave one side and leave two sides woven together, you can pull apart the blanket and put the woven corner over your feet for an instant foot warmer. I can’t stand when my feet stick out from blankets and get cold, so this is my favorite blanket conversion. Warm toesies, aaahhh.
- If you un-weave two sides and leave one side woven together, you now have a HUGE blanket that you can share with a family member or partner! SNUGGLES!
Let us know how your DIY reversible fleece scarf turns out! Tweet us your photos @GeekGalsCo.
Featured image credit: Courtney Langdon/Geek Gals

This is such a cute gift idea!
LikeLike
Courtney’s great with DIY projects! –ChinLin
LikeLike