

I have loved ghosts ever since I can remember. From the silly ones at Disney World’s Haunted Mansion to the real life mysteries found in paranormal history books. Not surprisingly, they are also one of my favorite ways to decorate for Halloween.
This year I wanted to try something new. And, of course, easy Halloween ghost treats you can eat immediately came to mind. Here are a few easy Halloween ghost treats experiments I tried that I think you will enjoy making on your own!
NOTE: Some of the items used in these recipes are specialty items that can be found on Amazon or at your favorite arts and crafts store. However, I did note any variations you could try without buying extra supplies wherever possible. DIYs aren’t fun if they also break the bank, right?
Ghostly Cream Pops
This particular treat was both the hardest to make and the yummiest, IMO, as it came out like a fluffy soft serve treat. I tried a few different ingredients to see which would work best, and I highly encourage you to do the same. Just like in one of mine, sometimes the strangest mistakes turn out to be the best discoveries.
Supplies
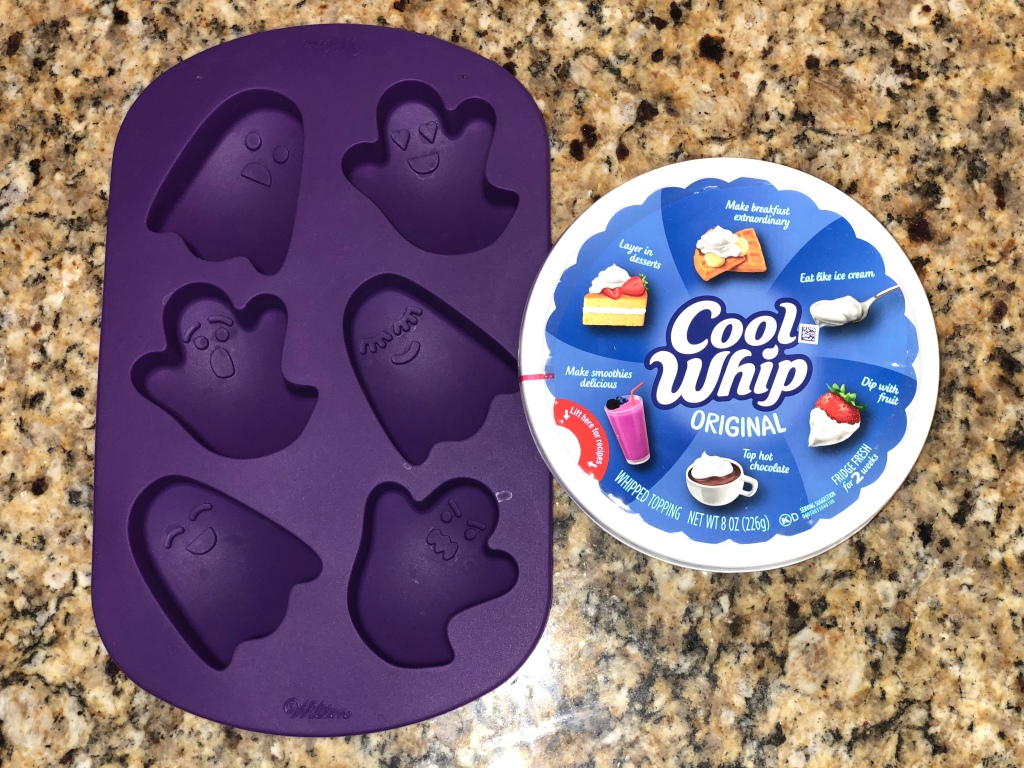
- a silicone mold of ghosts (this one is made by Wilton)
- fruit skewers or chopsticks
- a tub of Cool Whip
- decorations such as chocolate chips or sauce for eyes and mouth
Steps
Step 1: Thaw your Cool Whip.
Step 2: Using a spoon, scoop the Cool Whip into each ghost in the silicone mold. Gently press down on the cream in the mold with the rounded back of the spoon to ensure it gets into every nook and cranny.

Step 3: Stick fruit skewers or chopsticks into the middle of each ghost.
Step 4: Refreeze at least two hours.
And… Step 5: Pop them out of the molds. Decorate if you want, and enjoy!
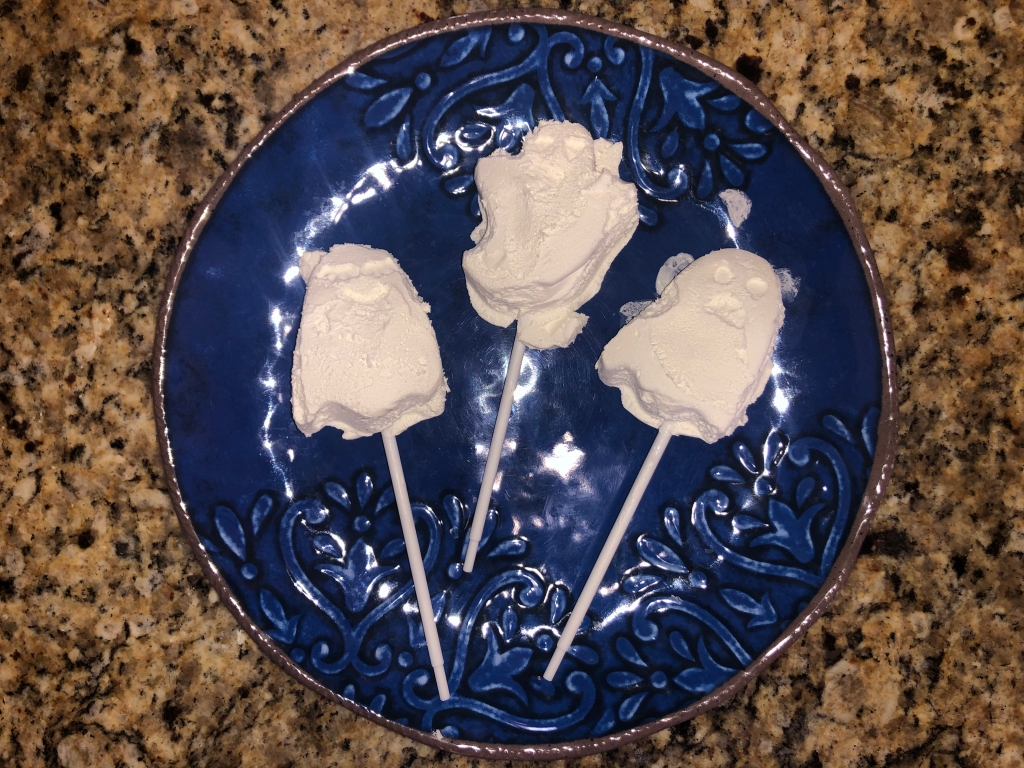
NOTE: These don’t stay frozen solid long, so leave them in the freezer until you’re absolutely ready to serve and eat.
Variation

If you don’t have molds: Replace Step 2 above by scooping thawed Cool Whip onto a baking sheet and freeform some ghostly shapes. For step 5, use a spatula to lift the ghosts off the baking sheet.
Fun Find


On a whim, I decided to put liquid peppermint mocha coffee creamer into a mold and freeze it. Imagine my delight the next morning when I popped it out of the mold, put it in my coffee, and watched it float to the top to grin at me before it slowly melted back into the dark liquid. I’ve never been so happily haunted, lol.
Ghostly Rice Krispies Treats
Rice Krispies treats always make me smile and bring back happy memories of family holidays. They’re both crispy and sweet, and they are just fine to leave out at room temperature for long periods of time. A little known fact–unless you’re addicted to cake decorating shows on cable TV–is that they are also strong enough to hold a shape and used for making more complicated shapes.
Supplies
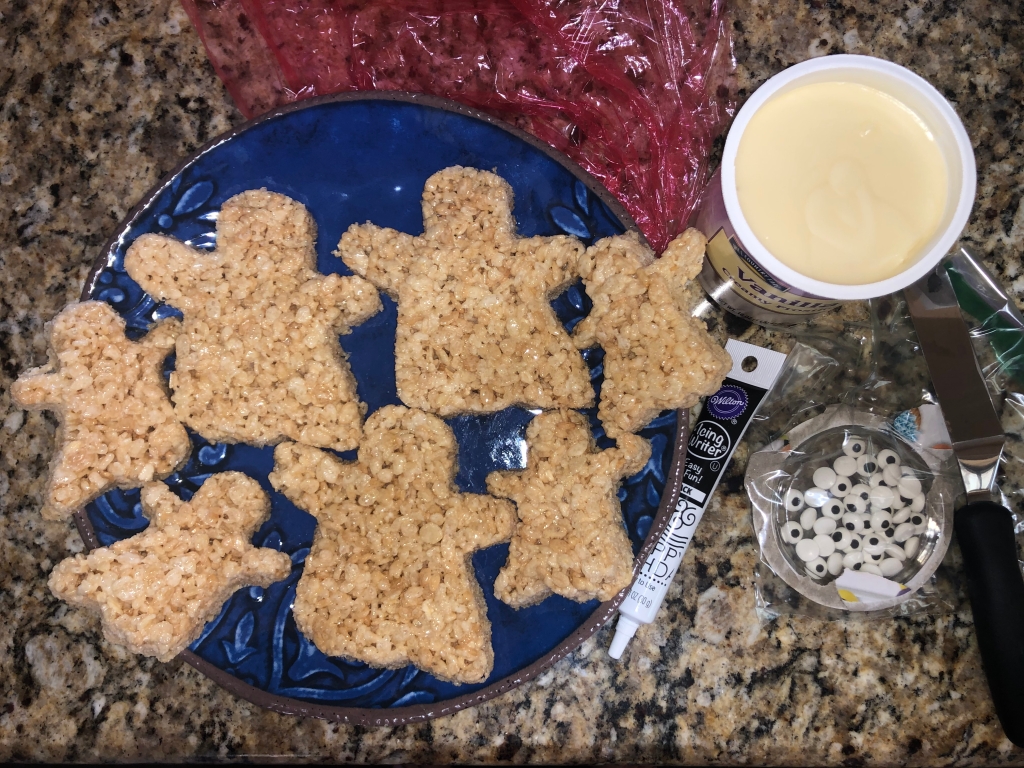
- ghost cookie cutters (found at the grocery store and at an arts and crafts chain)
- Rice Krispies treats (you can find the recipe on the cereal box)
- white icing
- decorations such as chocolate chips or sauce for eyes and mouth
Steps
Step 1: Make a batch of Rice Krispies treats in a 13” glass baking dish. Let it cool thoroughly.
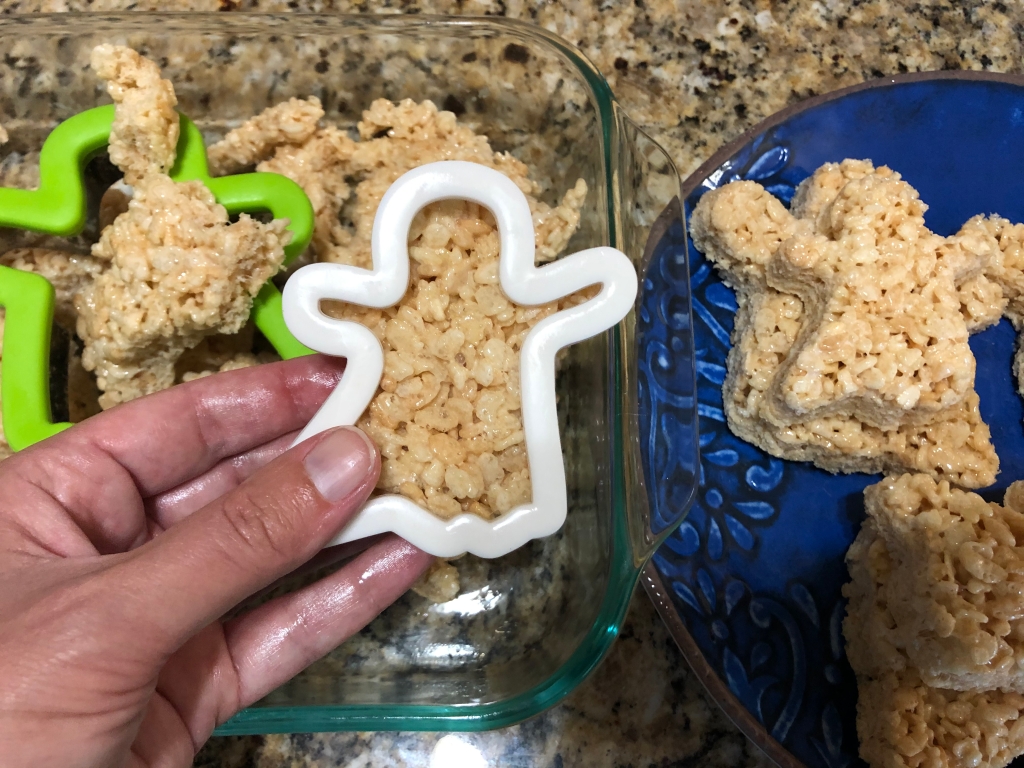
Step 2: Use a cookie cutter to cut out your ghost shapes. Don’t be afraid to push firmly.
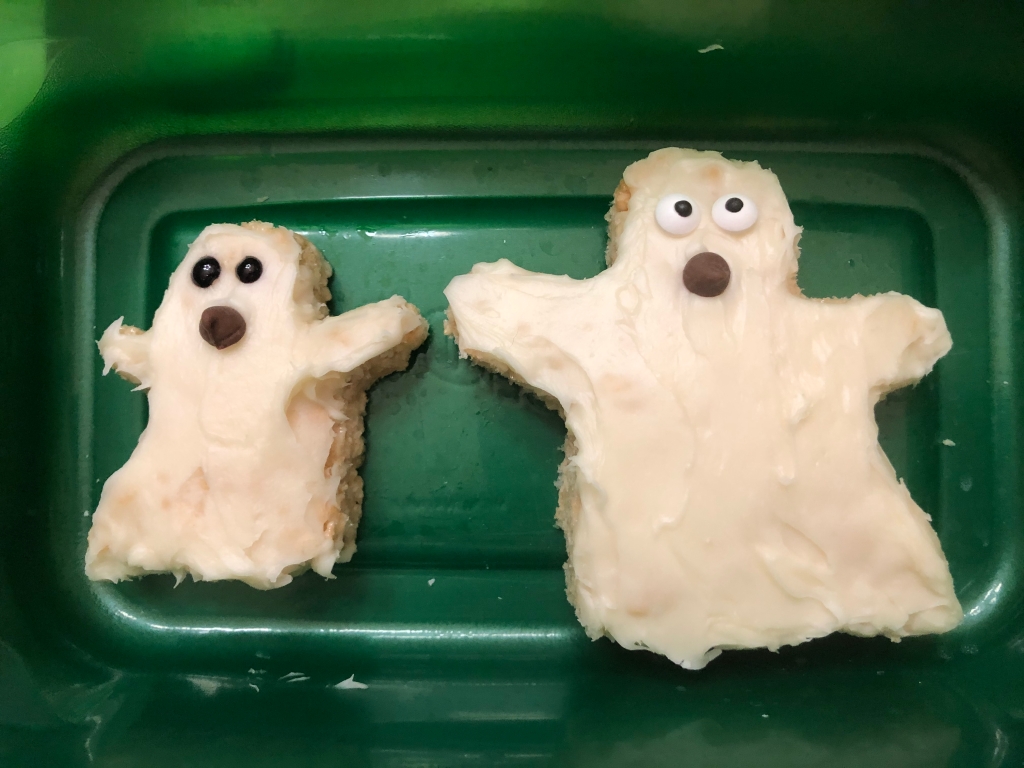
Step 3: Ice the ghosts, decorate if you want, and enjoy!
Variation
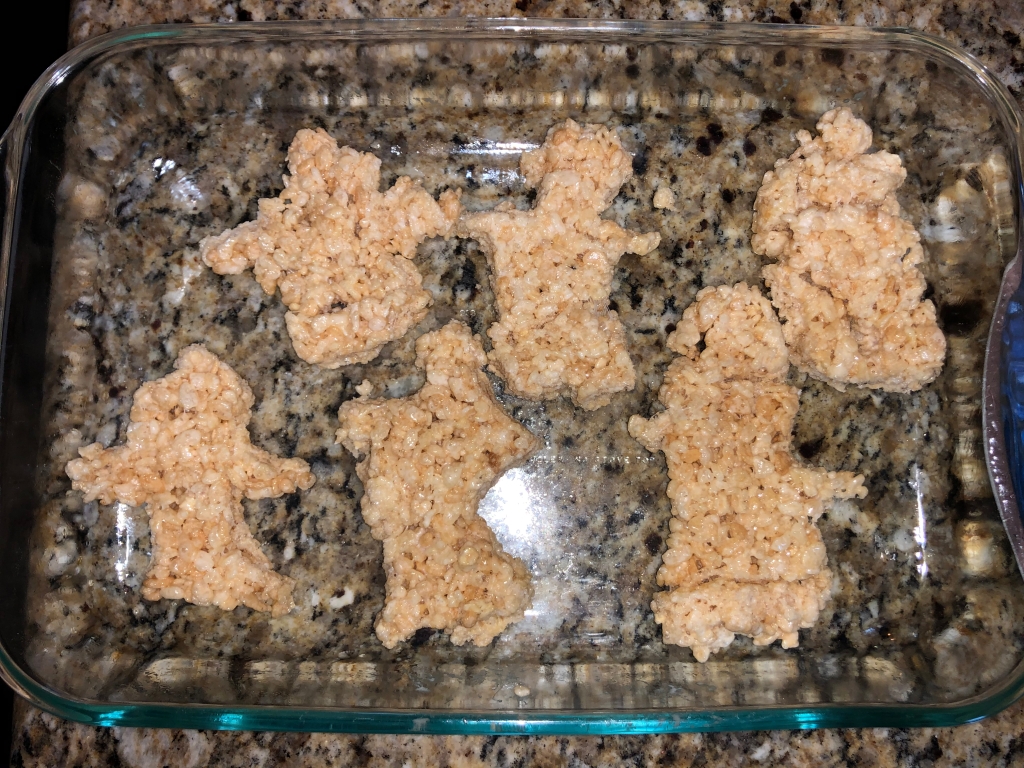
If you don’t have cookie cutters: Replace Step 2 above by hand cutting ghost shapes out of the sheet. You can continue to cut off edges as you need. AND, with all that sticky, marshmallow goodness, you can even hand-mold shapes or re-stick pieces. I wouldn’t mess with it too much, though, because it will start to get hard and tacky.
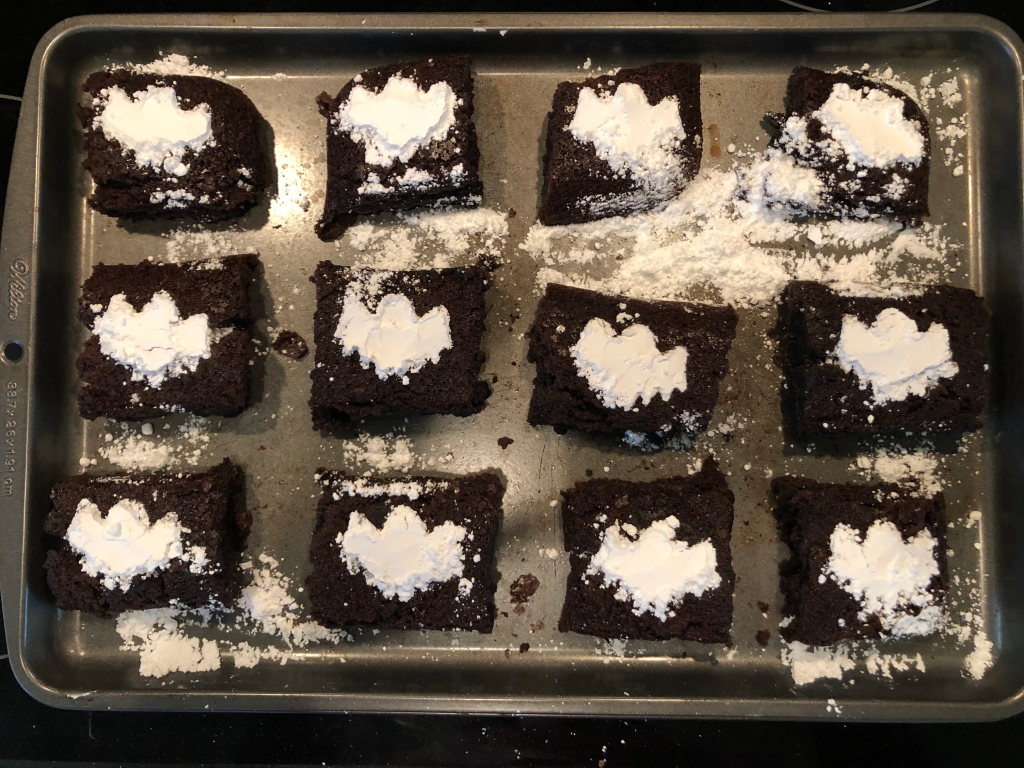
Ghostly Brownies
Truth time: this did not go as well as I hoped because I don’t have a steady hand when it comes to dusting with confectioner’s sugar, lol. Still, the concept is sound. And I bet you can do better than I did! Please do share pics if you try this one out.
Supplies
- ghost stencils (found online at Amazon)
- brownies
- confectioner’s sugar (aka powdered sugar)
Steps
Step 1: Make a batch of brownies. Let it cool thoroughly.
Step 2: Flip the brownies over. Usually the bottom side is flatter and will be easier to decorate.
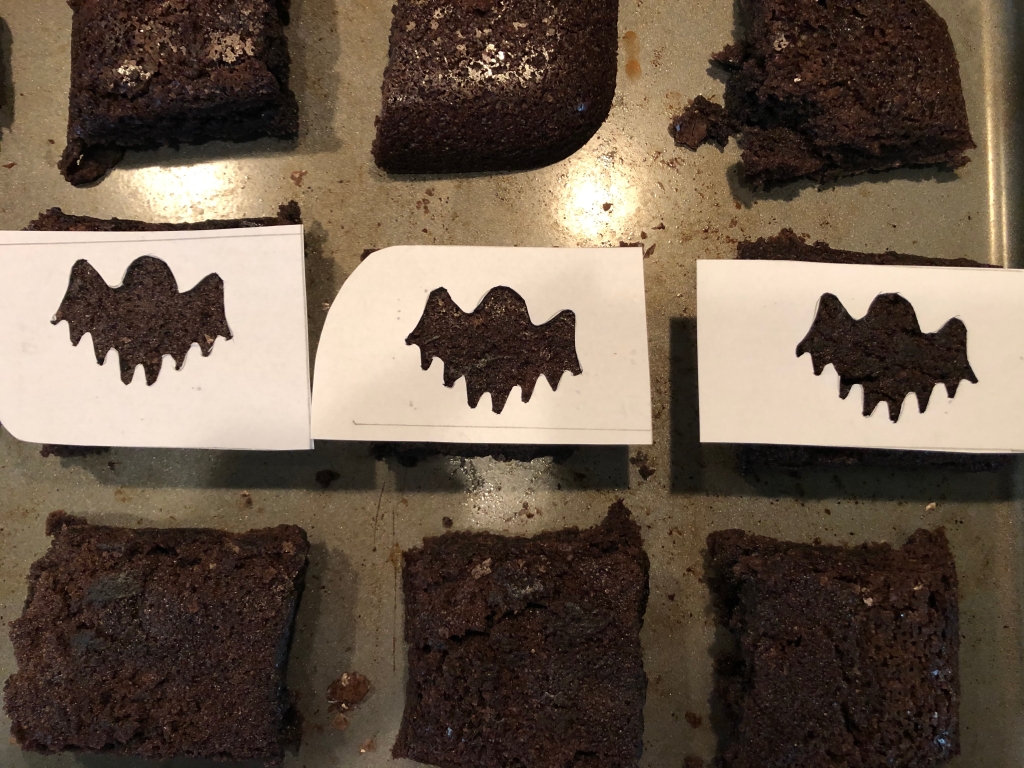
Step 3: Lay the ghost stencil on the brownie you want to decorate. You can decorate the whole brownie sheet at once and then cut, but I chose to cut first and then decorate. I felt like it meant there was less chance of the sugar going where it shouldn’t if I separated the brownies first.
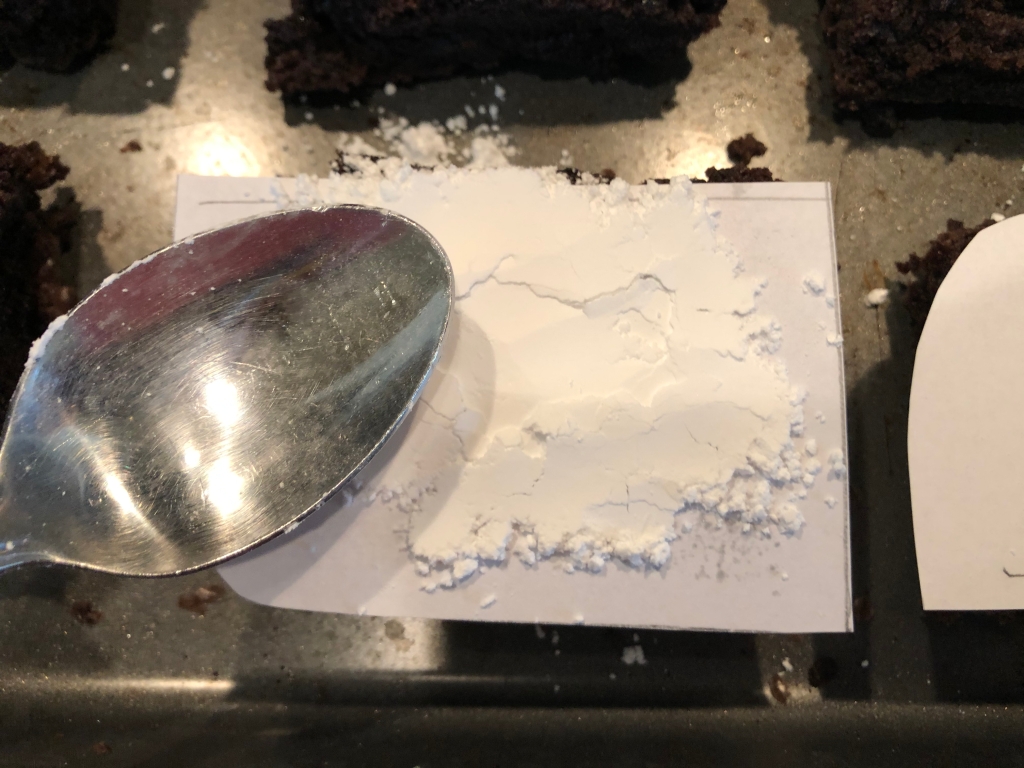
Step 4: Using a spoon, lightly shake the sugar over the design. If needed, you can use the rounded bottom of the spoon to gently tap the sugar down and smooth the sugar over the entirety of the design.
Variation
If you don’t have a stencil, you can make one! Look online for free images for “ghost stencil” and print the one you want. Then cut out the necessary parts, and you have a stencil. With this method, though, the paper may move around more than plastic would, but you can use toothpicks to stake the paper in place while you sift on the sugar.
Other Sweet Treats
We also used chocolate chips on jumbo marshmallows (sliced in half lengthwise) for adorable baby ghosts, and I would love to see some mini-cheesecake ghosts. Angel food cake ghosts? Meringue ghosts? The sky… or the afterworld… is the limit!
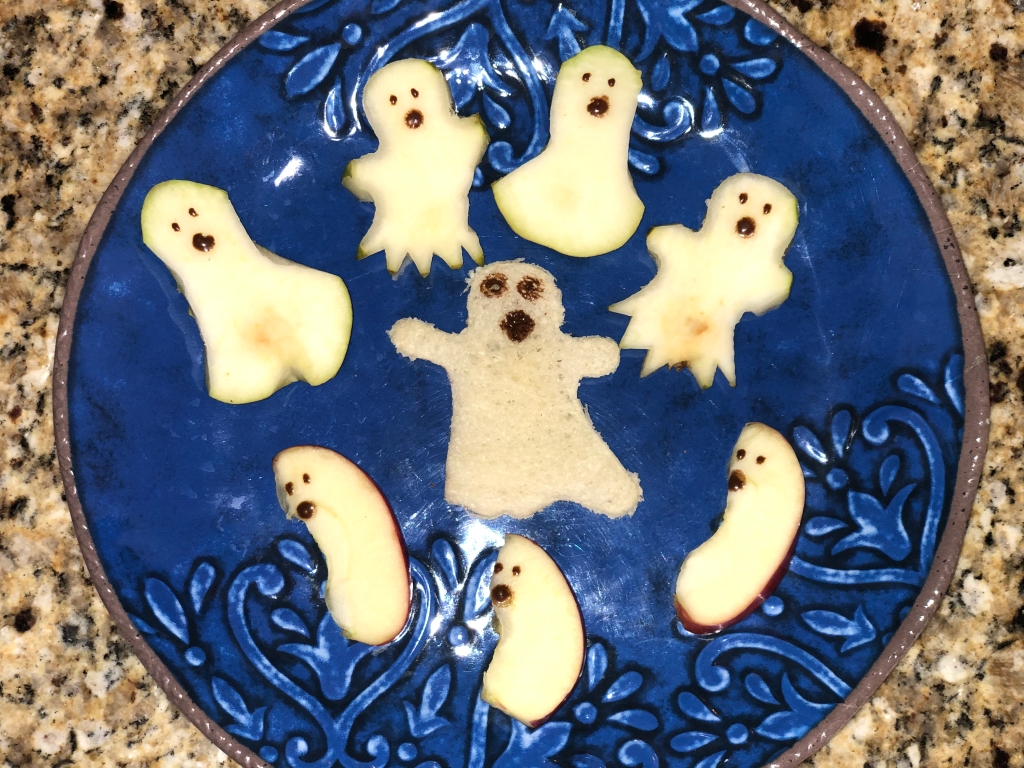
Healthy Easy Halloween Ghost Treats
Those of you watching your sugar intake… We see you! To create healthier, sugar-less ghosts, you can try any of the following. Some make better ghosts than others, but they were all delicious and gobbled up at the end of the day.
- Fruit, such as pear and apple
- White bread, which makes adorable ghost sandwiches
- Cheeses, such as mozzarella, provolone, and swiss
Now that you’re ready for as many easy Halloween ghost treats as your stomach can handle, please share your pics so we can be inspired by your designs, too!
Read more of Courtney’s articles.
Sign up to get news, announcements, and other fun stuff straight to your inbox.
Featured image credit: Courtney Langdon/Geek Gals
